
Installing Solar Rail Clamps: A Step-by-Step Guide
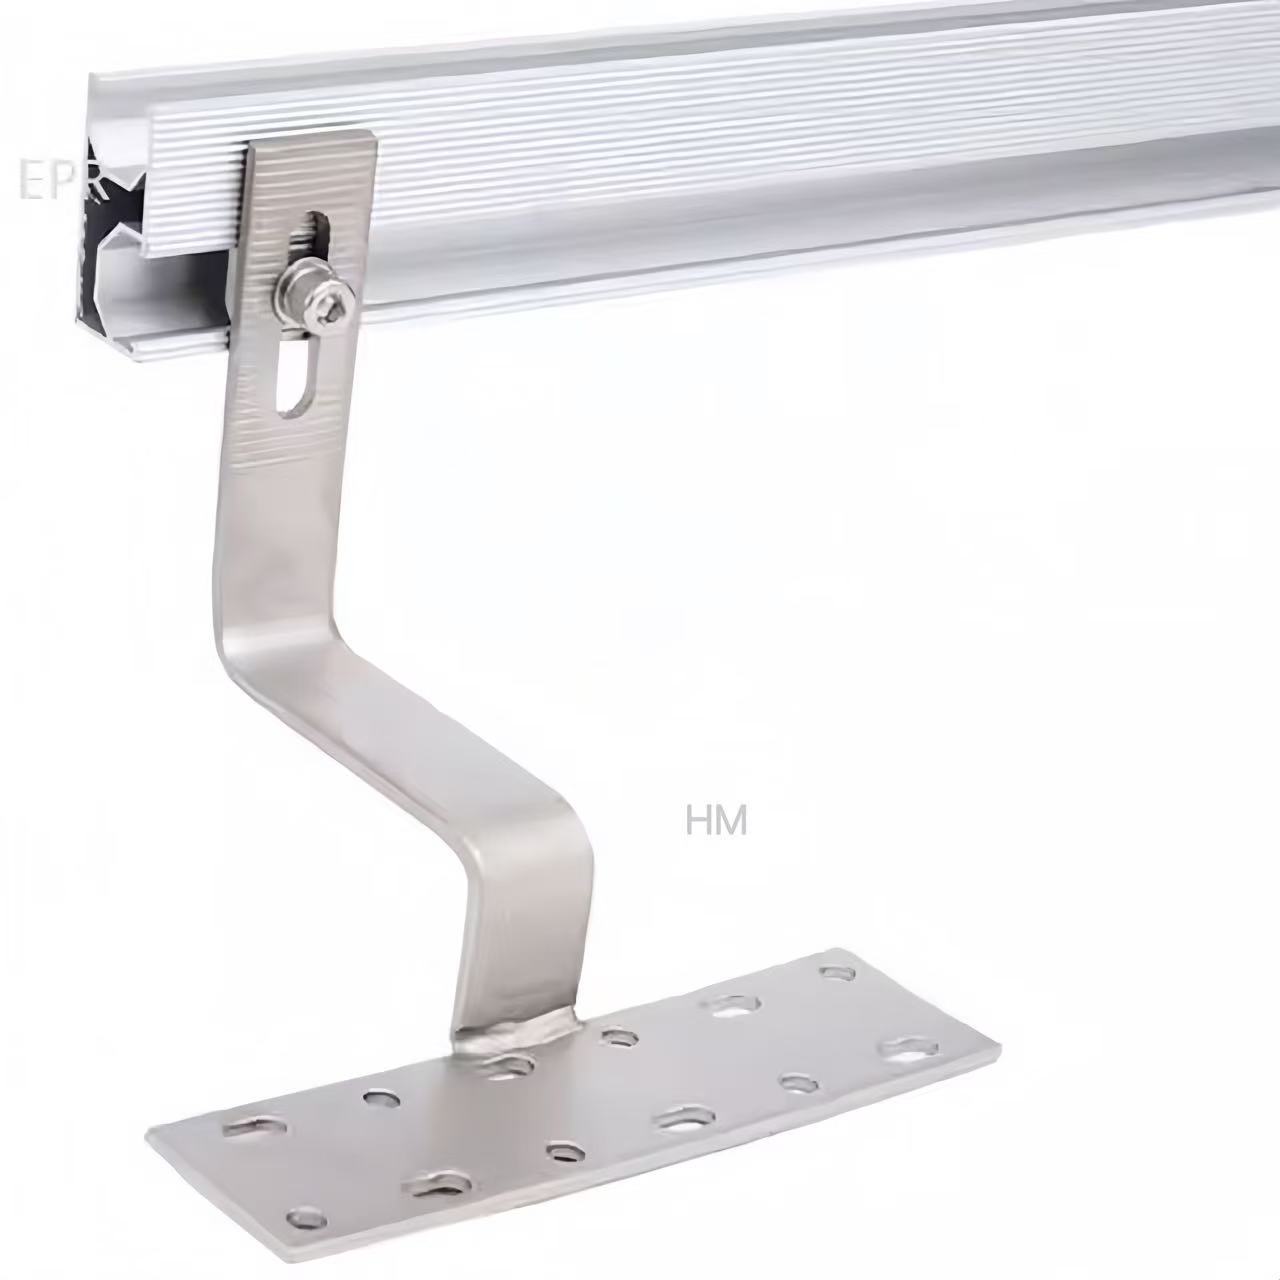
Installing solar rail clamps requires careful planning and execution to ensure a secure and efficient system. Below are the primary steps involved in the installation process:
1. **Preparation**: Begin by gathering all necessary tools and materials, including solar rail clamps, rails, mounting brackets, and a power drill.
2. **Site Assessment**: Evaluate the installation site to identify the best locations for the solar panels. Consider factors such as shading, roof orientation, and structural integrity.
3. **Mounting Rails**: Install the mounting rails according to the manufacturer's guidelines. Ensure that they are level and securely fastened.
4. **Positioning Clamps**: Place the solar rail clamps at the designated points along the rails, ensuring that they are evenly spaced for optimal support.
5. **Securing Panels**: Attach the solar panels to the clamps, ensuring that they are properly aligned and secured.
6. **Final Inspection**: Conduct a thorough inspection of the installation to ensure everything is secured correctly. Check for any potential issues that may arise.
Maintenance Tips for Solar Rail Clamps
Unlocking the Potential of Solar Rail Clamp
Related Article